Getting the Heat Right for Smart Meter PCBs
If you’re working with smart meter PCBs, you know the struggle. These boards are packed. You’ve got dense components squeezed into tiny footprints, and standard heating just doesn’t cut it. The goal is simple, but tricky: hit a very specific temperature window across the whole board. If you’re off by a bit, you’re either looking at cold solder joints or a scorched substrate. Neither is a good day at the office.
How we actually handle the physics
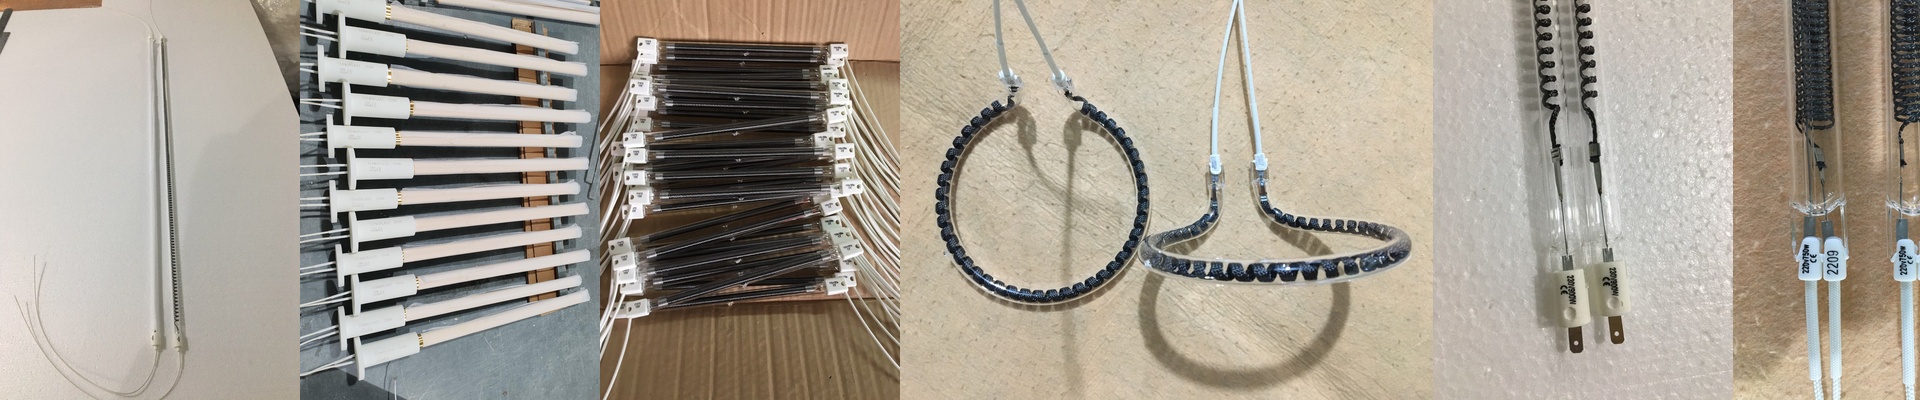
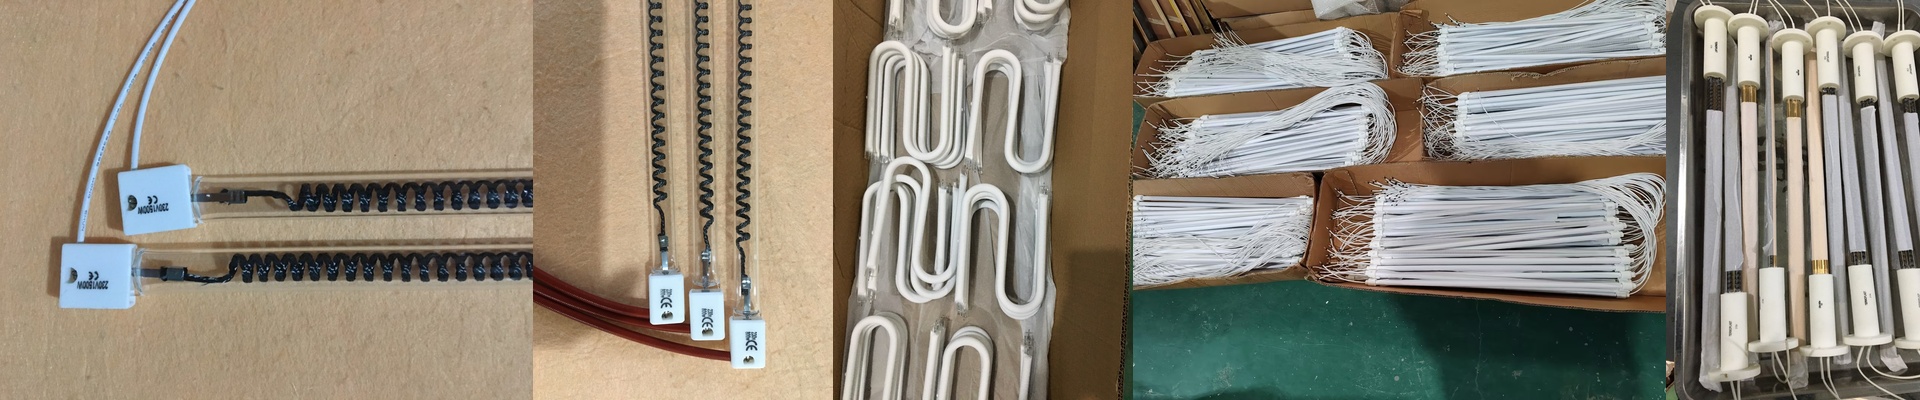
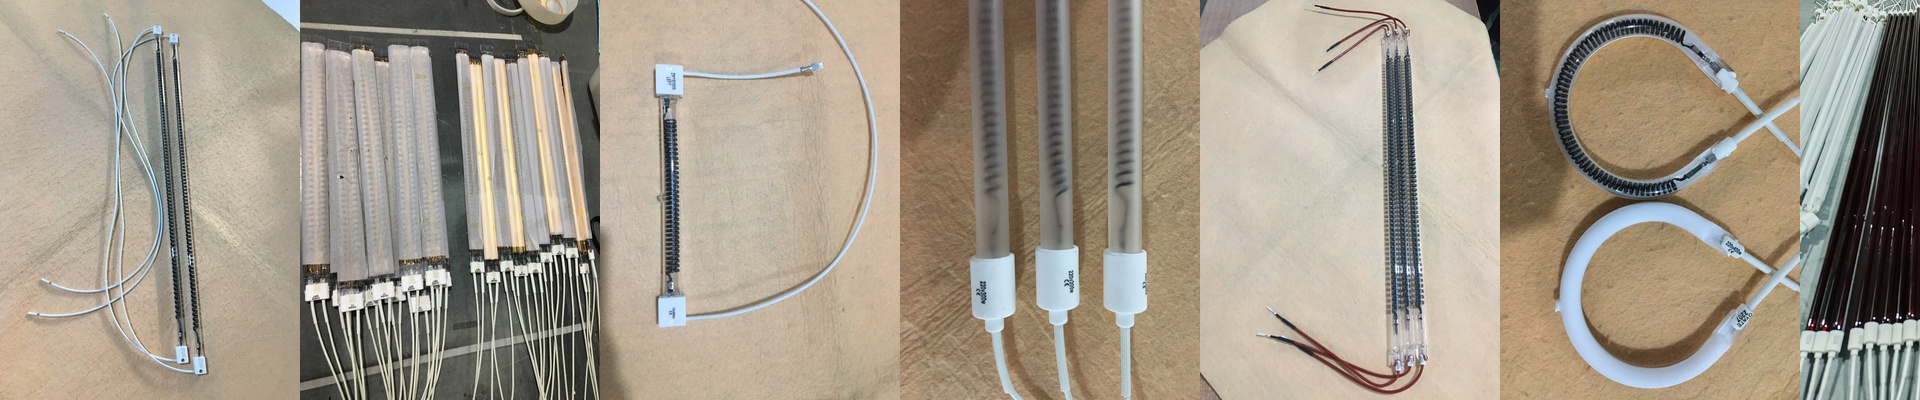
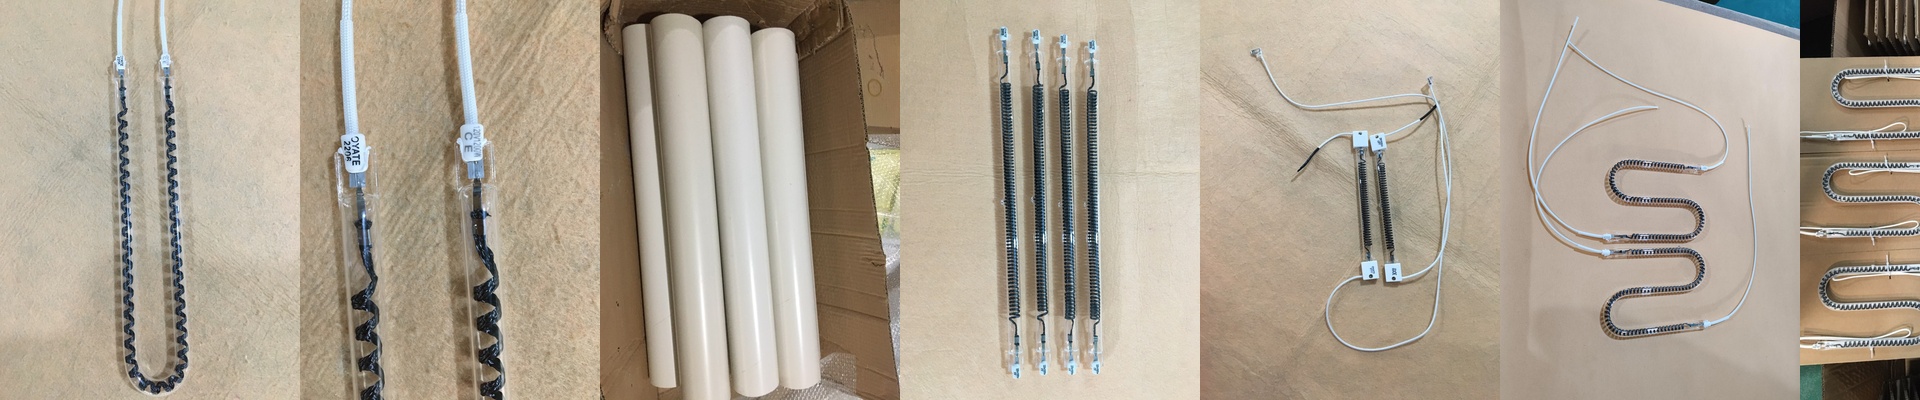
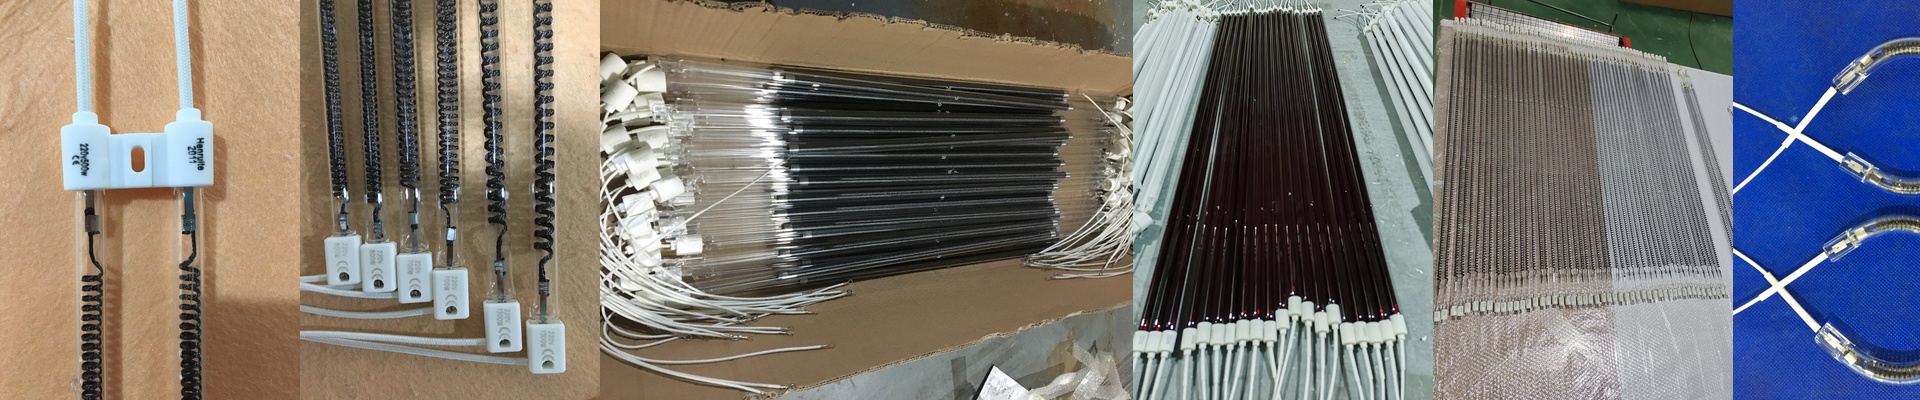
We rely on shortwave infrared lamps. The big difference here is that we aren’t just heating up the air like a convection oven; we’re driving heat straight into the solder paste. It’s faster. Much faster. But you have to be careful. We keep the tolerances tight because even a 5-degree overshoot can warp a thin PCB or fry a capacitor. It happens in a blink.
The trade-offs you’ll face
First, you’ve got to get the lamp length right. If it’s too long, you’re just throwing money away on wasted energy. Too short? You’ll get those annoying cold spots around the edges of the board. We use quartz envelopes to keep the heat steady and predictable. Then there’s the balance between power and thickness. A high-wattage lamp gets the job done quickly, but if your board is thin, it’ll bow. To stop that, you’ll need to tweak your conveyor speed or pulse the power to keep everything flat.
Putting it on the floor
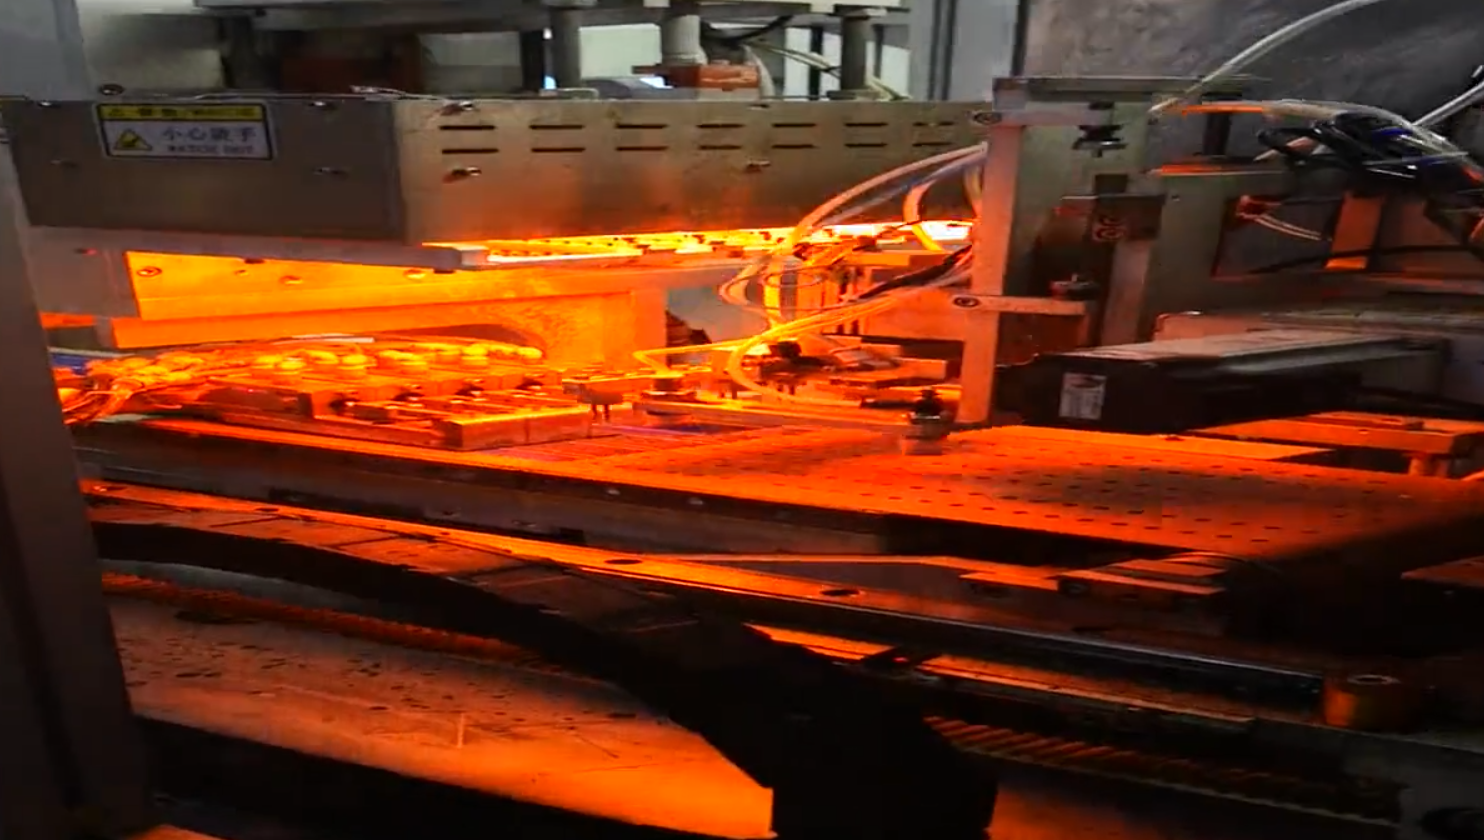
We designed these to be drop-in replacements, so the wiring is pretty painless. Just a heads-up: check your power supply. These lamps have a massive initial surge when they kick in. If your electrical panel isn’t ready for that peak load, you’re going to be tripping breakers on your first cycle. And please, don’t skip the shielding. Without it, you’re leaking infrared energy all over the shop. It wastes power and makes your operators sweat. Focus on the reflector angle. Get it dialed in so every single watt bounces right back onto the PCB.